From Scratch to Self-Hosting
Here I post a step-by-step guide to have a home server from a newly bought minipc.
Let’s install Ubuntu
First of all, prepare a USB device for Ubuntu OS installation. Thanks to Ventoy, we can download Ubuntu and create a bootable USB drive for it. Then, just install Ubuntu, alongside Windows if your minipc has it already installed or just erase the disk. I prefer the later to have more usable memory for my stuff.
Things to install in Ubuntu
Note: To update all packages, run:
sudo apt update
Note: If you ever need to uninstall any package, run:
sudo apt purge whatever_package -y
sudo apt autoremove
Here I have listed all commands needed to install all my stuff in my minipc to have it working as a home server:
Curl
sudo apt-get install curlTailscale
curl -fsSL https://tailscale.com/install.sh | sh
sudo tailscale up
Then, to make sure you can connect to your server, run:
sudo systemctl status sshIf inactive (dead), then run:
sudo systemctl enable --now sshThis will start the service immediately and ensure it starts on boot. After all, you will be able to connect to you server terminal by running in cmd or Powershell:
ssh [email protected]Podman
apt install podman
podman --version # just to make sure it is correctly installed
Docker
curl -fsSL https://get.docker.com -o get-docker.sh
sh get-docker.sh
docker version
After installation, check if Docker gets started at system boot:
sudo systemctl is-enabled dockerIt should prompt as output enabled. If not, run:
sudo systemctl enable dockerTest your installation by running:
docker run hello-worldThen, install Docker Compose 2:
DOCKER_CONFIG=${DOCKER_CONFIG:-$HOME/.docker}
mkdir -p $DOCKER_CONFIG/cli-plugins
curl -SL https://github.com/docker/compose/releases/download/v2.27.0/docker-compose-linux-x86_64 -o $DOCKER_CONFIG/cli-plugins/docker-compose
sudo chmod +x $DOCKER_CONFIG/cli-plugins/docker-compose
If the last command line returns “No such file or directory”, then you have to add to your system’s PATH where to find docker-compose:
nano ~/.bashrcThen, add at the end of the file:
export PATH=$PATH:~/.docker/cli-pluginsSave the file (Ctrl+O), exit the editor (Ctrl+X) and apply the changes to your current session by sourcing the file:
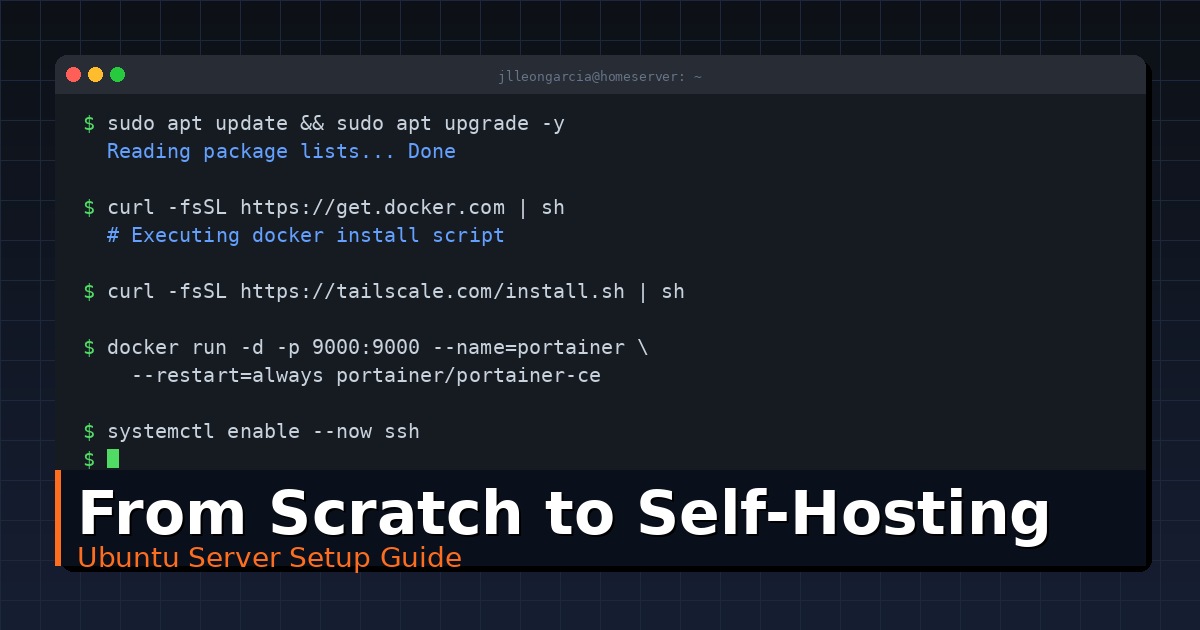
source ~/.bashrcFinally, start and run Portainer, a graphical user interface (GUI) that sits on top of your Docker setup. By running this command, you’re essentially installing a user-friendly control panel:
docker run -d -p 8000:8000 -p 9000:9000 --name=portainer --restart=always -v /var/run/docker.sock:/var/run/docker.sock -v portainer_data:/data portainer/portainer-ce
docker restart portainer
Now, navigate to server_IP:9000 and you can create your admin user.
htop
sudo apt install htopGit
Git should have been installed by now, but if not:
sudo apt update
sudo apt install git
To clone your repositories:
git clone [email protected]:your_username/your_repo_ssh_url.gitNow, it’s time to configure your Git user information:
git config --global user.name "Your Name"
git config --global user.email "[email protected]"
Replace “Your Name” and “[email protected]” with your GitHub name and email.
Once you have configured your Git information, choose an authentication method; I have chosen SSH key:
ssh-keygen -t ed25519 -C "[email protected]"Then, copy the output of the following command line:
cat ~/.ssh/id_ed25519.puband go to Github > Settings > SSH and GPG Keys > New SSH Key > Key field. Paste the output there and give it a title. After all, test the connection:
ssh -T [email protected]To sync all your projects without having to be logged in, just create the pull script and timer, then run the timer with systemd. Follow these steps:
Create the script:
sudo nano /usr/local/bin/git-pull-allPaste the following code:
#!/bin/bash

# Path to your projects directory
PROJECTS_DIR="/home/jlleongarcia/projects"

# Check if the directory exists
if [ ! -d "$PROJECTS_DIR" ]; then
  echo "Projects directory not found at $PROJECTS_DIR"
  exit 1
fi

# Change to the projects directory
cd "$PROJECTS_DIR" || exit

# Loop through each directory and pull the latest changes
for repo in */; do
  if [ -d "$repo/.git" ]; then
    echo "Syncing $repo..."
    cd "$repo"
    git pull
    cd ..
  fi
done
Make the script executable:
sudo chmod +x /usr/local/bin/git-pull-allCreate a systemd Service:
sudo nano /etc/systemd/system/git-sync.serviceAdd the service configuration:
[Unit]
Description=Git synchronization service
After=network.target

[Service]
ExecStart=/usr/local/bin/git-pull-all
User=jlleongarcia
Group=jlleongarcia

[Install]
WantedBy=multi-user.target
Create a systemd Timer:
sudo nano /etc/systemd/system/git-sync.timerAdd the timer configuration:
[Unit]
Description=Runs git-sync.service every day at 8am

[Timer]
OnCalendar=*-*-* 08:00:00
RandomizedDelaySec=15m
Persistent=true

[Install]
WantedBy=timers.target
Finally, enable and start the Timer:
sudo systemctl daemon-reload
sudo systemctl start git-sync.timer # Start the Timer
sudo systemctl enable git-sync.timer # Enable the timer to run on boot
To check the status of your timer, run:
sudo systemctl status git-sync.timeruv
curl -LsSf https://astral.sh/uv/install.sh | shThen, restart your terminal or run:
source $HOME/.local/bin/envDevelop your projects using VSCode Remote - SSH
If you are familiar to VSCode, you can use it to develop your projects directly on your home server, save it to the server’s project directory, and then run it directly in a terminal within VS Code that is connected to the server.
To do so, you will need to install the “Remote - SSH” extension in VSCode. Once installed, you can connect to your server by clicking on the green “Remote Explorer” icon in the activity bar on the left, then selecting “SSH Targets” and clicking the ”+” icon to add a new SSH host.
You will be prompted to enter the SSH connection command, which will be similar to ssh [email protected]. After successfully connecting, VSCode will open a new window connected to your server, allowing you to browse files, edit code, and run terminals as if you were working locally on the server.
Optional apps to be included
Umami + Cloudflare to get web analytics
The process involves two main phases: setting up the Umami server and connecting it via the Cloudflare Tunnel. Most people use Docker for the Umami server setup as it simplifies deployment.
- Create the Umami Setup Files: Create a directory for Umami and inside it paste:
openssl rand 30 | openssl base64 -A- Create a .env file:
nano .envand paste the generated code:
# Umami Application Secret
UMAMI_SECRET=<PASTE_YOUR_GENERATED_SECRET_HERE>

# Database Configuration (Using PostgreSQL for simplicity)
DATABASE_URL=postgresql://umami:umami@umami-db:5432/umami- Create the docker-compose.yml file:
nano docker-compose.ymlversion: '3.8'
services:
umami:
image: ghcr.io/umami-software/umami:postgresql-latest
container_name: umami
restart: unless-stopped
ports:
- "127.0.0.1:3000:3000"
depends_on:
- umami-db
environment:
- DATABASE_URL=${DATABASE_URL}
- HASH_SALT=${UMAMI_SECRET}
- APP_SECRET=${UMAMI_SECRET}
umami-db:
image: postgres:15-alpine
container_name: umami-db
restart: unless-stopped
environment:
POSTGRES_USER: umami
POSTGRES_PASSWORD: umami
POSTGRES_DB: umami
volumes:
- ./umami_data:/var/lib/postgresql/dataAfter creating all these files, run the following command to start the Umami Containers:
docker-compose up -dThen, install the cloudflared Daemon:
wget https://github.com/cloudflare/cloudflared/releases/latest/download/cloudflared-linux-amd64.deb && sudo dpkg -i cloudflared-linux-amd64.debRun the command:
cloudflared tunnel loginThe command will output a URL. Copy this URL and paste it into a web browser on your computer. The browser will prompt you to log in to your Cloudflare account. Once logged in, select the domain you want to use for the Tunnel and click Authorize.
Next, create the Tunnel in the Cloudflare Dashboard and define the Umami Service.
Finally, run the tunnel by:
cloudflared tunnel run <YOUR-TUNNEL-NAME>and paste the following snippet just before the closing </body> tag:
<script
    async
    src="https://<YOUR_UMAMI_DOMAIN>/script.js"
    data-website-id="<YOUR_WEBSITE_ID>">
</script>
In order to test if your containers are up, run:
docker ps -a --format "table {{.Names}}\t{{.Status}}\t{{.Ports}}"Additional features
Installing an external SSD
After the physical installation of the external disk, you need to tell Linux how to use this new bunch of space.
-
Identify the Drive
Open your terminal and run:
lsblkLook for a new disk that is approximately the size of the disk you bought. It will likely be labeled something like
/dev/sdb. -
Format the Drive
We will use ext4, the most stable and standard filesystem for Linux servers.
# Replace 'sdb' with your actual drive letter found in the previous step sudo mkfs.ext4 /dev/sdb -
Create a Mount Point
We don’t want to manually mount the drive every time the minipc restarts. Choose a location where your data will live.
sudo mkdir -p /mnt/nextcloud_data -
Get the UUID
Linux identifies drives best by their UUID (Unique ID), which doesn’t change even if you swap cable ports.
sudo blkid /dev/sdbCopy the long alphanumeric string inside the quotes (e.g.,
UUID="550e8400-e29b-..."). -
Edit the File System Table
sudo nano /etc/fstabAdd this line to the bottom of the file (replace the UUID with yours):
UUID=your-uuid-here /mnt/nextcloud_data ext4 defaults 0 2Save and exit (Ctrl+O, Enter, Ctrl+X).
-
Test the Mount
sudo mount -aIf no errors appear, your SSD is now active at
/mnt/nextcloud_data. However, if it returns “mount: (hint) your fstab has been modified but systemd still uses the old version; use ‘systemctl daemon-reload’ to reload”, no stress — this is a perfectly normal informational message on modern Linux systems. Just reload the systemd manager configuration:sudo systemctl daemon-reloadand mount the drive again.
sudo mount -a
Git notes
When working with branches, if one branch isn’t up to date any more with main, there are two options:
-
Option A — Merge main into your branch (simpler, safer):
git checkout your-other-branch
git fetch origin
git merge origin/main
Creates a merge commit, but no risk of rewriting history.
-
Option B — Rebase your branch on top of main (cleaner history):
git checkout your-other-branch
git fetch origin
git rebase origin/main
Replays your commits on top of the updated main — linear history, no merge commit. Since files don’t overlap, no conflicts expected.
Last modified: 20 Jun 2026